This blog and post are purely intended to increase awareness of the availability of a fix for the HP Officejet 7410 All-in-one – a printer notorious for its issues. This is a rip off of the following page – with some slight edits by me. I cannot take responsibility for any damage that may occur to your printer in any form – but this worked for me and took all of 5 minutes.
“If you are reading this it is because you have just joined the HP 7410 printer stuck on stupid club! Your printer is on an endless start up cycle where you just watch the screen bar continuously doing the same thing and you can not use your 7410 printer. You may have already tried rebooting it to no avail, and you may also have tried resetting it with the same stuck on stupid results. And perhaps like some, you may have gone to the HP website for technical assistance, went through a set of printer troubleshooting annoyances only to end up with HP offering you a refurbished HP 7410 all in one printer for $200! Dubious given that it is common knowledge these printers are crucially flawed!
There is one drawback to this work around fix, and that is that your 7410 all in one printer will not have wireless functionality. So if you are able to use the USB or Network connections to connect your printer, (or if you already are), then this little trick will relief some undue stress for you. Should you decide to do this yourself, make sure for your own SAFETY that you UNPLUG the printer unit before attempting to do any servicing.
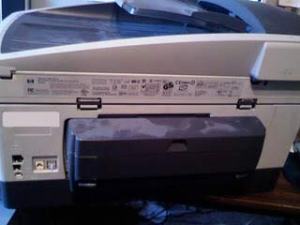
1. Turn the 7410 all in one printer unit around so it is facing you.
2. Remove the black paper feeder from the back of the printing machine by pressing in on the tabs on either side and pulling away from the machine. See the figure below of the back of the 7410 printer:
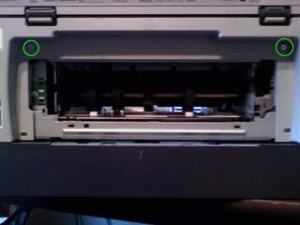
3. Remove the two silver screws, (circled in neon green, in the figure below), holding this back panel piece on. Then with the two screws removed, push upwards on the piece to unlock it from the printer and then remove it.
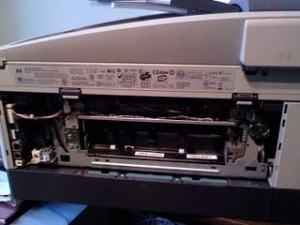
4. With this back panel piece removed, look to the upper left side of this diagram below:
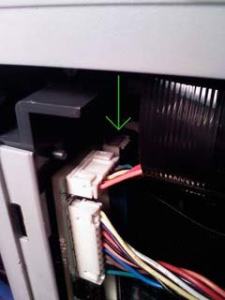
5. Zoom your focus into the area in the illustration below, pay attention to the area where the green arrow is pointing. The wire you want to unplug is the one nearest the TOP of the board and SECOND in from the back of the printer. (I actually used a pair of needle nose pliers to grab the white portion of the connector and pulled it outward to remove it from the main board.)
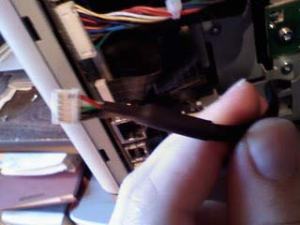
6. If you have some question as to what wire it is, look a the picture below, the wire’s connector head is rather small, has 6 wires, covered with black plastic sheath, located BEHIND the first (larger) plug in the upper left hand corner, as you look at it from the back.
7. Once you have removed the wire simply tuck it away from any electrical connections, you could also choose to tape it up with some electrical tape before doing so. Reinstall the HP 7410 all in one printer parts in reverse order. Plug in all your printer connections and then power up the 7410 printer again. I gave my printer about a minute before I started to hear some life coming out of it, and in short order it fully booted up to the normal software booted printing position. In testing it I found that all the functions, (printing, copies, scanning, and faxing), where once again working.
So, once again, all credit to lighthouse over at callitout.com. Hopefully this has fixed your HP Officejet 7410 as well!
